Hello and welcome to my blog! In this post I will detail the process of building a plinth for my laundry room. Occasionally in the process of building furniture for my clients I have to work a project in for myself to keep the house up and running, so I use my nights and weekends to build such projects without interrupting my other work. The laundry room will be finished with a live edge shelf and will be closed behind doors of which the particulars have not been decided, but for the moment the plinth is priority and the only part of project which has found approval after multiple rounds of careful negotiations and planning sessions.
A plinth is a base utilized for the sole purpose of raising the height of something, in classical western architecture that something would a structure, column, or statue. In contemporary use of the term it often also refers to raising a cabinet from the ground with a box-like stand. My wife and I both agreed that the front load machines are a bit low for our preference but that stacking one on top of the other would place both in unfortunate positions, one being too high the other two low. The result is that I would design a plinth (stand) to raise them to an agreeable height. This provided the additional benefit of raising the dryer to a point at which the exhaust duct was able to make a much smoother turn from its exit at the dryer to the duct connection at the wall.
This plinth is being constructed of yellow cedar and western red cedar. The structural components will be primarily yellow cedar and the panels will be of western red cedar. I’ve determined that I will be using mostly haunched double mortise and tenon joints to construct this piece and every surface will be planed to a finish. My planning includes the consideration of chamfers, setting back various members from one another to ensure that I can apply continuous chamfers around each framing member on their exposed surfaces.
The aesthetic of this plinth is that of the tokonoma alcove base cabinetry, and ultimately will work toward a similar overall aesthetic once the shelving is in place. Unlike a traditional alcove this will ultimately be hid behind doors, I haven’t quite decided exactly the format of the doors but something like red cedar paneled fusuma would work well in my estimation.
I found this project to be of interest because it puts many of my principles to the test. This plinth will have to hold a good deal of weight and a machine that vibrates at certain speeds, it will also need to resist damage from occasional water drips (which will be wiped off quickly!). The finished piece has been in use and so far, so good. I had the run off from the door drip onto the plinth by accident and it was removed some time later to no ill effect.
My work starts with a basic frame to create the top, each joint is a haunched double mortise and tenon and they’re sized to allow the uprights to engage the same corners, also with a haunched double mortise and tenon.

With work I make for myself I like to experiment with aesthetic and function, this project is no different. I wanted to see how I would enjoy the result with both hidden and visible joinery. On one face the joinery is completely exposed and on the opposing face the joinery is cut blind. This would allow me to determine exactly which I would use on the completed piece.
Here I’m cutting out one of the mortises, yellow cedar is a fairly delicate wood and so I often avoid clamping it. In this case I’ve simply positioned it on my planing beam to allow use of the planing stop to prevent the stock from moving as I chop the mortises.
The intersection joints are carefully sized to allow for continuous chamfers.

With the top now completed in its basic form I can cut joinery for the uprights, planning out exactly where the mortises would land.

This was followed by cutting out the joinery for the stretchers, these are utilizing single mortise and tenon joints.

The uprights were mortised at about their halfway point to receive the stretchers and then the frame was dry-fitted. Once the uprights were in place I could mark out the stretchers along the sides of the frame and mark and cutout for a heavy support along the center of the frame that will brace a central leg under the frame.
At this stage I also grooved the framing members to receive the western red cedar panels that were to be made.

The supporting beam uses simple half lap joinery at the center connection and half dovetails at the ends.

The center support was put in place along with the upright. These are very common under frames that span a long distance but carry weight over their center, such as a bed. In this case the washing machine will not only put a load over the center of the frame but will also vibrate the frame so I am building the plinth with a bit of redundancy.

Now that the frame is nearing completion I can turn my attention to the western Red Cedar panels. Red Cedar shows an incredible variety of color, this panel for instance is a very pale pink while the tight character of the grain suggests it came from a fairly old tree.

Next I begin to assemble the plinth, placing the panels in and gluing joints. I’m using hide glue on the joinery but will reinforce the joinery with an inner frame that will also bear the weight of the machines. This inner frame will utilize joinery which disassembles in the opposing direction of the mortise and tenon joints of the outer frame locking them tight and preventing them from working loose in the future.

Here is a look at the center support.

Another look at the joint as it connects to the surrounding frame.

The lower stretchers were pinned sand corner blocked to keep them from moving after years of a vibrating washer. Unfortunately I forgot to take photos of the inner frame before setting in the plywood tops, they were simply made with rabbet joinery.

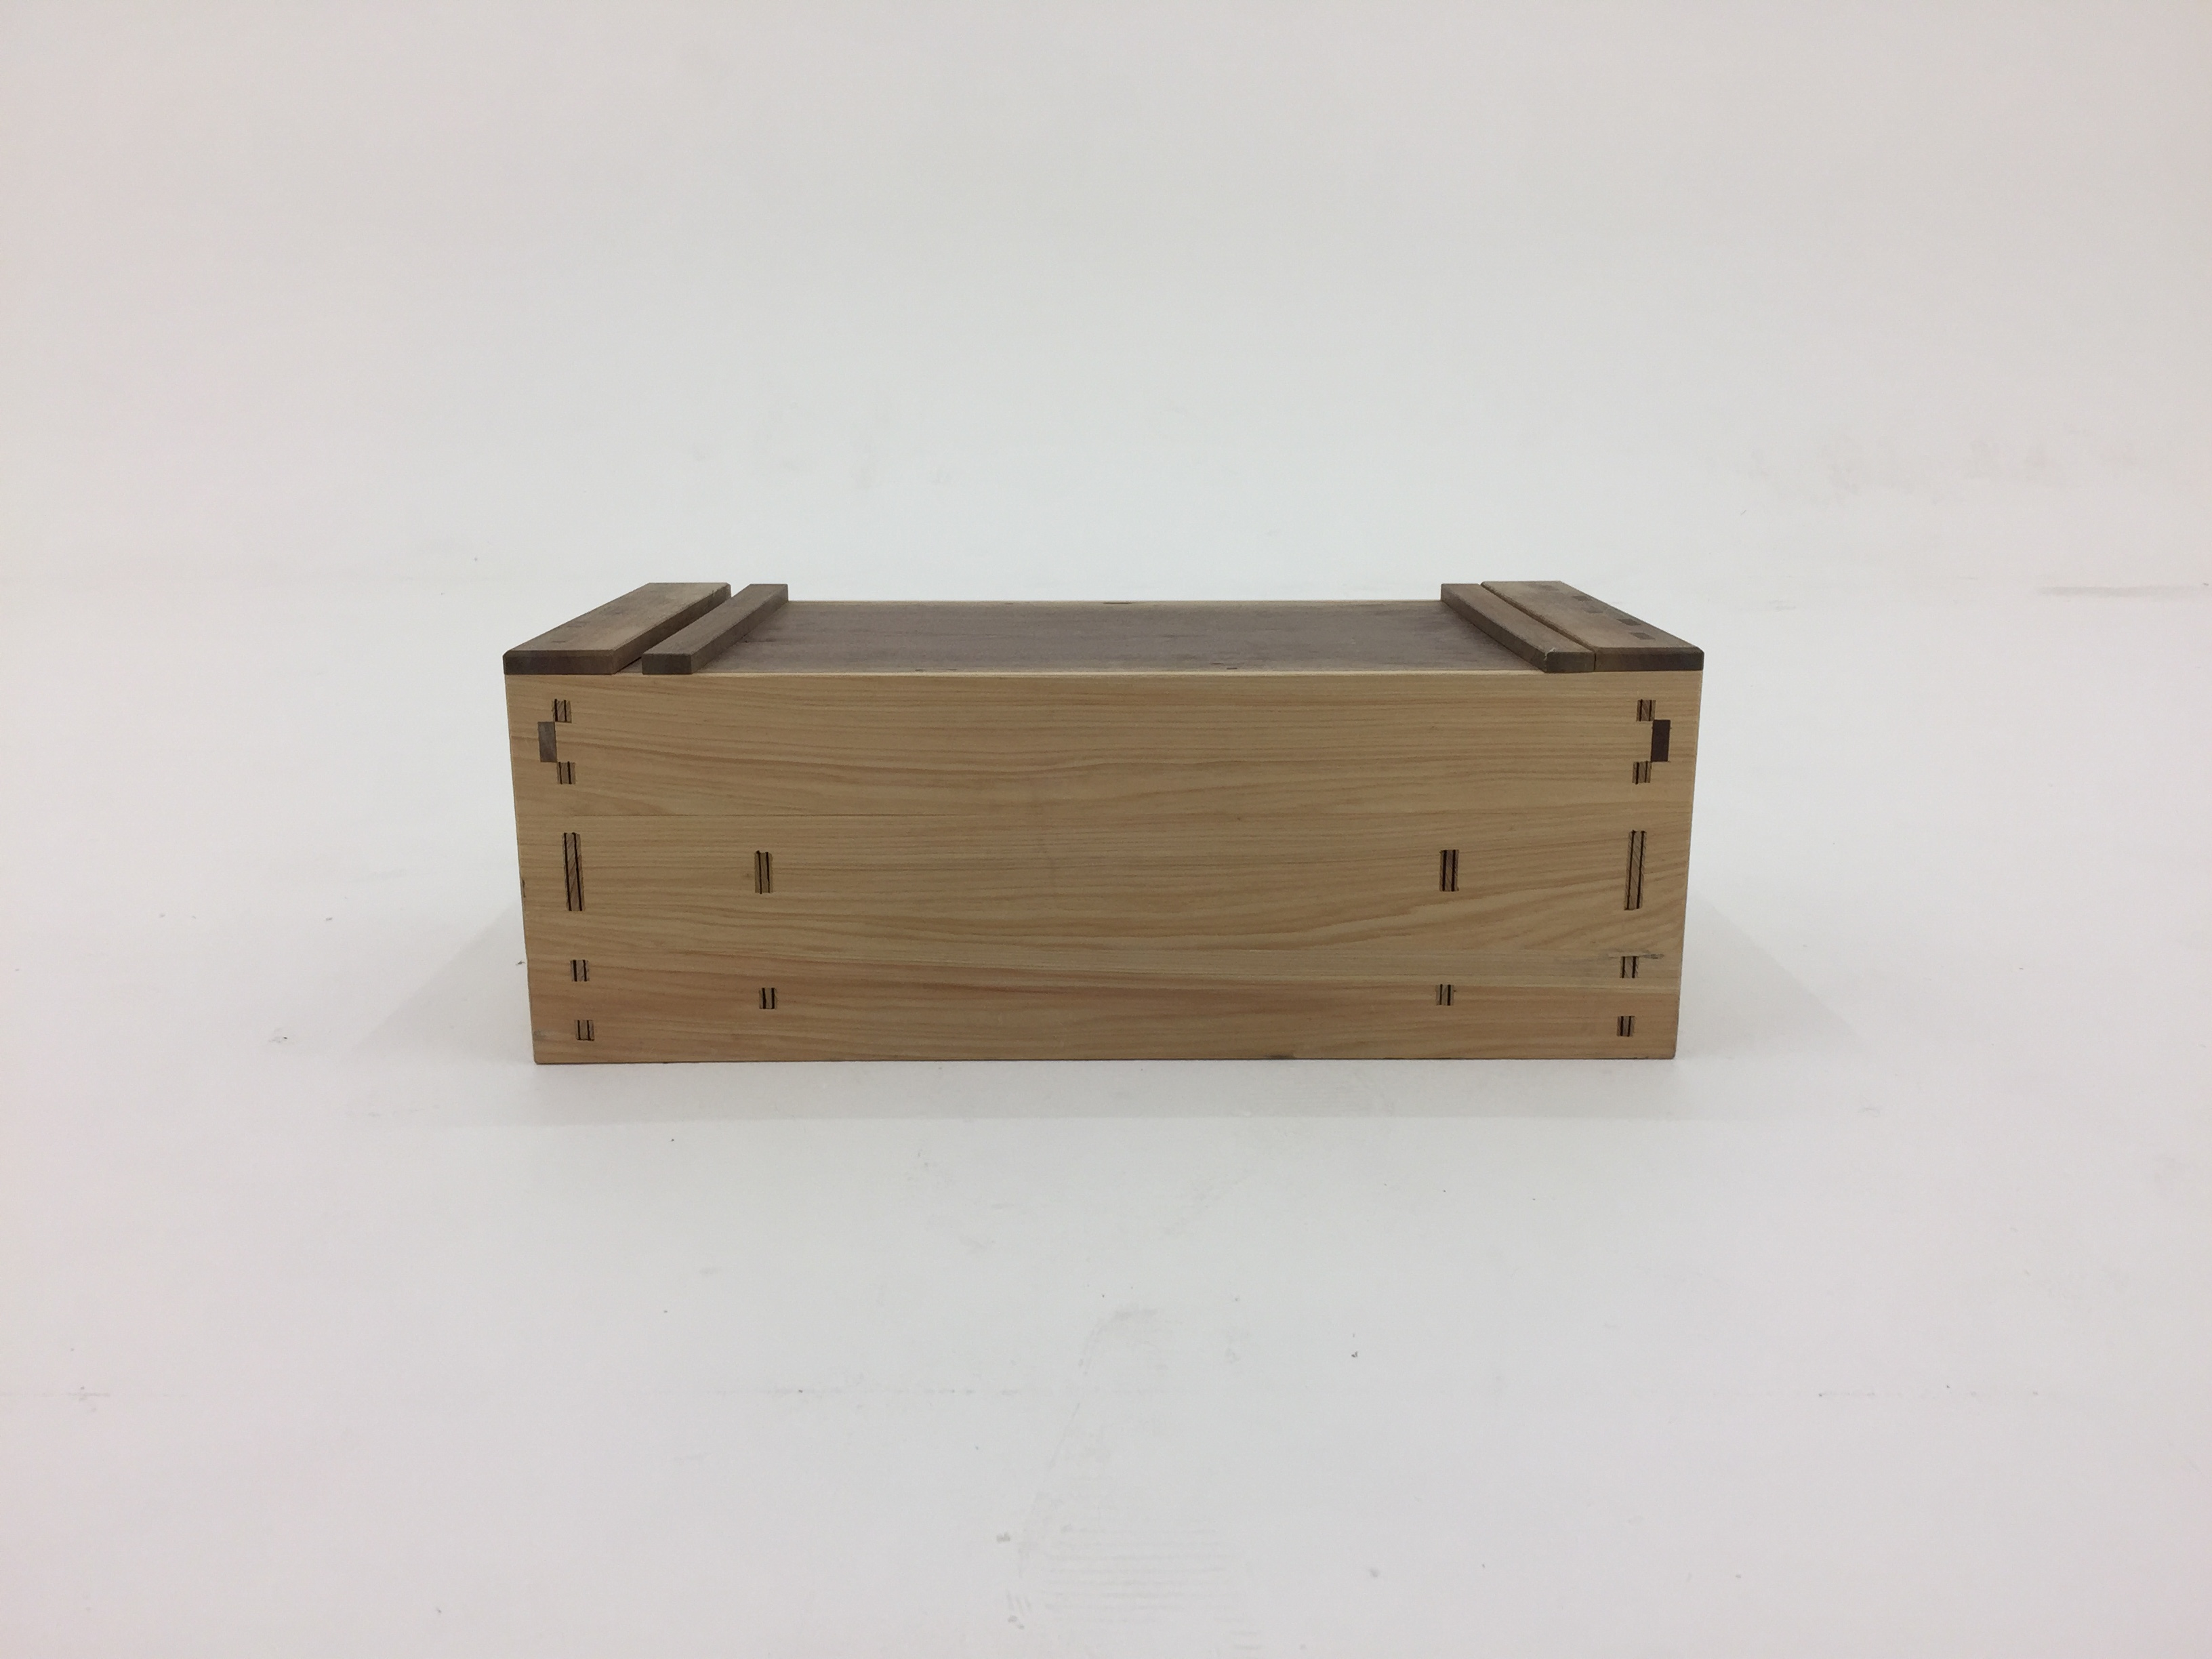
The plinth is now complete and in place. I’m happy with the result and have thought to utilize a version of this design in other circumstances such as a bed.

I hope that you have enjoyed this short build, a brief aside before another project begins, and I look forward to reading your comments. This project was the inspiration I had in mind for the article written on Salko Safic’s Handwork.
Came out nicely. I’m a bit surprised you chose not to incorporate drawers for storing detergent, etc.
Thanks Brandon! I decided against storage since we have another cabinet across the hallway, but without that I think it would have been handy.
Really well done Brian. I love the setback detail of the intersecting members so that the edge be beveling does not conflict. Must have been a real struggle to set the washer dryer on top without marring the Alaskan yellow cedar.
Thanks David! Indeed it was tricky. I had my father’s help, and we lifted both machines carefully onto the stand, then slid it into place. Washers are surprisingly heavy!
For some reason in Western Australia our biggest hardware chain was carrying Alaskan yellow cedar at reasonable prices and I will always remember the distinctive fragrance. I rather liked working with it, even though it was not what you would classify as a great grade. I think what I like the most Brian is the contrast between the beautifully made plinth and the machines sitting on top- makes them look all the better for it. Hope your washer doesn’t go for an amble like ours occasionally if it doesn’t rebalance itself! Gavin
Thanks Gav! The stuff is really wonderful to work and I enjoy the scent as well. Ours is pretty good unless we put bulky items in it, then it can vibrate.
Wow, very nice Brian! Looks like a good exercise in joinery.
Management has been after me to raise our laundry machines for a while now. I’m afraid that the hillbilly version will be much more utilitarian. LOL
Thanks Greg! Absolutely, it’s always fun to put theory to test. You sell yourself short of course, I’m sure what you build will be quite nice and I would not be surprised to see some turnings!