Hello and welcome to my blog! This post details the process of building drawers in quarter sawn white oak for a kitchen renovation. Much has happened in the past weeks with this build in many different areas of the work, however I delayed my post having waited for this particular area of the work to be completed before posting.
Drawers are possibly the most important aspect of building cabinetry and they are often the only aspect poured over by clients. Drawers are the first aspect of cabinetry that either supports the notion of quality in the build or sabotages it.
I’ve chosen to make traditionally fashioned wooden drawers, dovetailed on all corners, but with exception that these drawers accommodate metal soft close drawer glides. Building traditional drawers for this modified application requires a few changes to their construction.
Traditional drawers are typically made with drawer slips, however when using metal slides the drawer slips must be eliminated and using metal slides usually requires a separate facade in order to make up the space between the drawers that would otherwise be consumed by drawer blades. It is similar, but in many way very different from making drawers for furniture.
I began by making the facade which starts with baltic birch plywood wrapped around the edges with quarter sawn white oak. This is a departure from the industry-typical edge banding but provides a much more durable edge against accidental dings which can open a veneered edge.

The wrap is mitered at all corners.

I glue up, then trim and finish plane the wrap on all sides in preparation for veneering. The panels are veneered both front and back. The veneers on the front are shop sawn of quartern sawn oak. I have chosen to shop saw the veneers in order to allow me to make a thicker and more durable veneer which can be hand planed to a finish. I’ve planned by veneers so that they will match in groups.
The veneer shown in this photo is typical commercial paper-backed veneer which will be used on the backside of these drawer fronts. It is also quarter sawn white oak.

I veneer with cold press glue and utilize a vacuum press to secure the veneer. I’ve used catalyzed glues previously but returned to cold press glue as it is easy to work and I’ve had much success with it.

I work on the facade in sections so that I can finish plane those coming out of the press (after some curing time) and put new panels into the press. This is the completed facade for part of the kitchen, along with a mock-up of the doors.

All edges are chamfered and then the facade is set aside awaiting the drawer boxes.

Now that the drawer faces are complete I next focus on the drawer boxes. I’ve sourced material large enough that the backs, fronts and sides to be made out of solid sections without a glue up. The drawer bottoms on the other hand are made 3/8″ thickness and they’re glued up from slip matched sections that have been re-sawn to thickness.


The backs, sides and fronts are next prepared by hand and set aside. I do have a bandsaw for resawing but every other operation has been done by hand, jointing thickness planing and planing edges square.

This is but a small glimpse into the amount of shavings that this shop has seen in recent weeks.

The final step before cutting joinery is to square the ends of each board and cut them to length. I do this with a chop saw and tune them to exactness with a jointer planer.

Next I mark out, cut and chop the drawer sides.

Followed by trimming the drawer faces and backs as matched pairs. I match the pairs to avoid the possibility of having slightly different length parts in the same drawer.

The drawers, unlike traditional drawers, are cut for through dovetails at the front. Traditional drawers are cut half blind. In this case with an additional facade being applied I felt the drawers look most proportionally correct with through dovetails.
I cutout the pin boards by setting the drawer sides on them, marking out my cuts with a knife then cutting with a rip dozuki. Next I removed the majority of the waste with a coping saw. I finished the process by chopping the remainder of the material to the line.
The drawers are then test fitted.

The final steps in building these drawers are to plane the drawer bottoms to thickness, I did this with a combination of jointer plane and smoother. Last I cut a rabbet around the bottom perimeter with an antique English rebate plane. One might think this easier to do with the router table, but the drawer bottoms are all slightly different and so it ends up being far faster to simply cut them with a hand plane.

The completed and test fitted drawer boxes, ready for final assembly and gluing.


I am gluing these with hide glue in case they need to be repaired at some future point.

The final steps taken are to trim up the sides and fronts with a hand plane.

The finished boxes are now installed into their respective locations. They’re riding on metal soft-close drawer slides. As you can see the drawer faces need not be perfectly finished as they will be covered and they need not take up the space entirely.

A look at the dovetails from the sides.

And the drawer bottoms from the top.

Next and finally I install the facade, this makes up the spaces around the drawers and creates the finished appearance.

I will reveal the remainder of this facade in the next post, on doors, which will complete the majority of the work in this area of the kitchen.
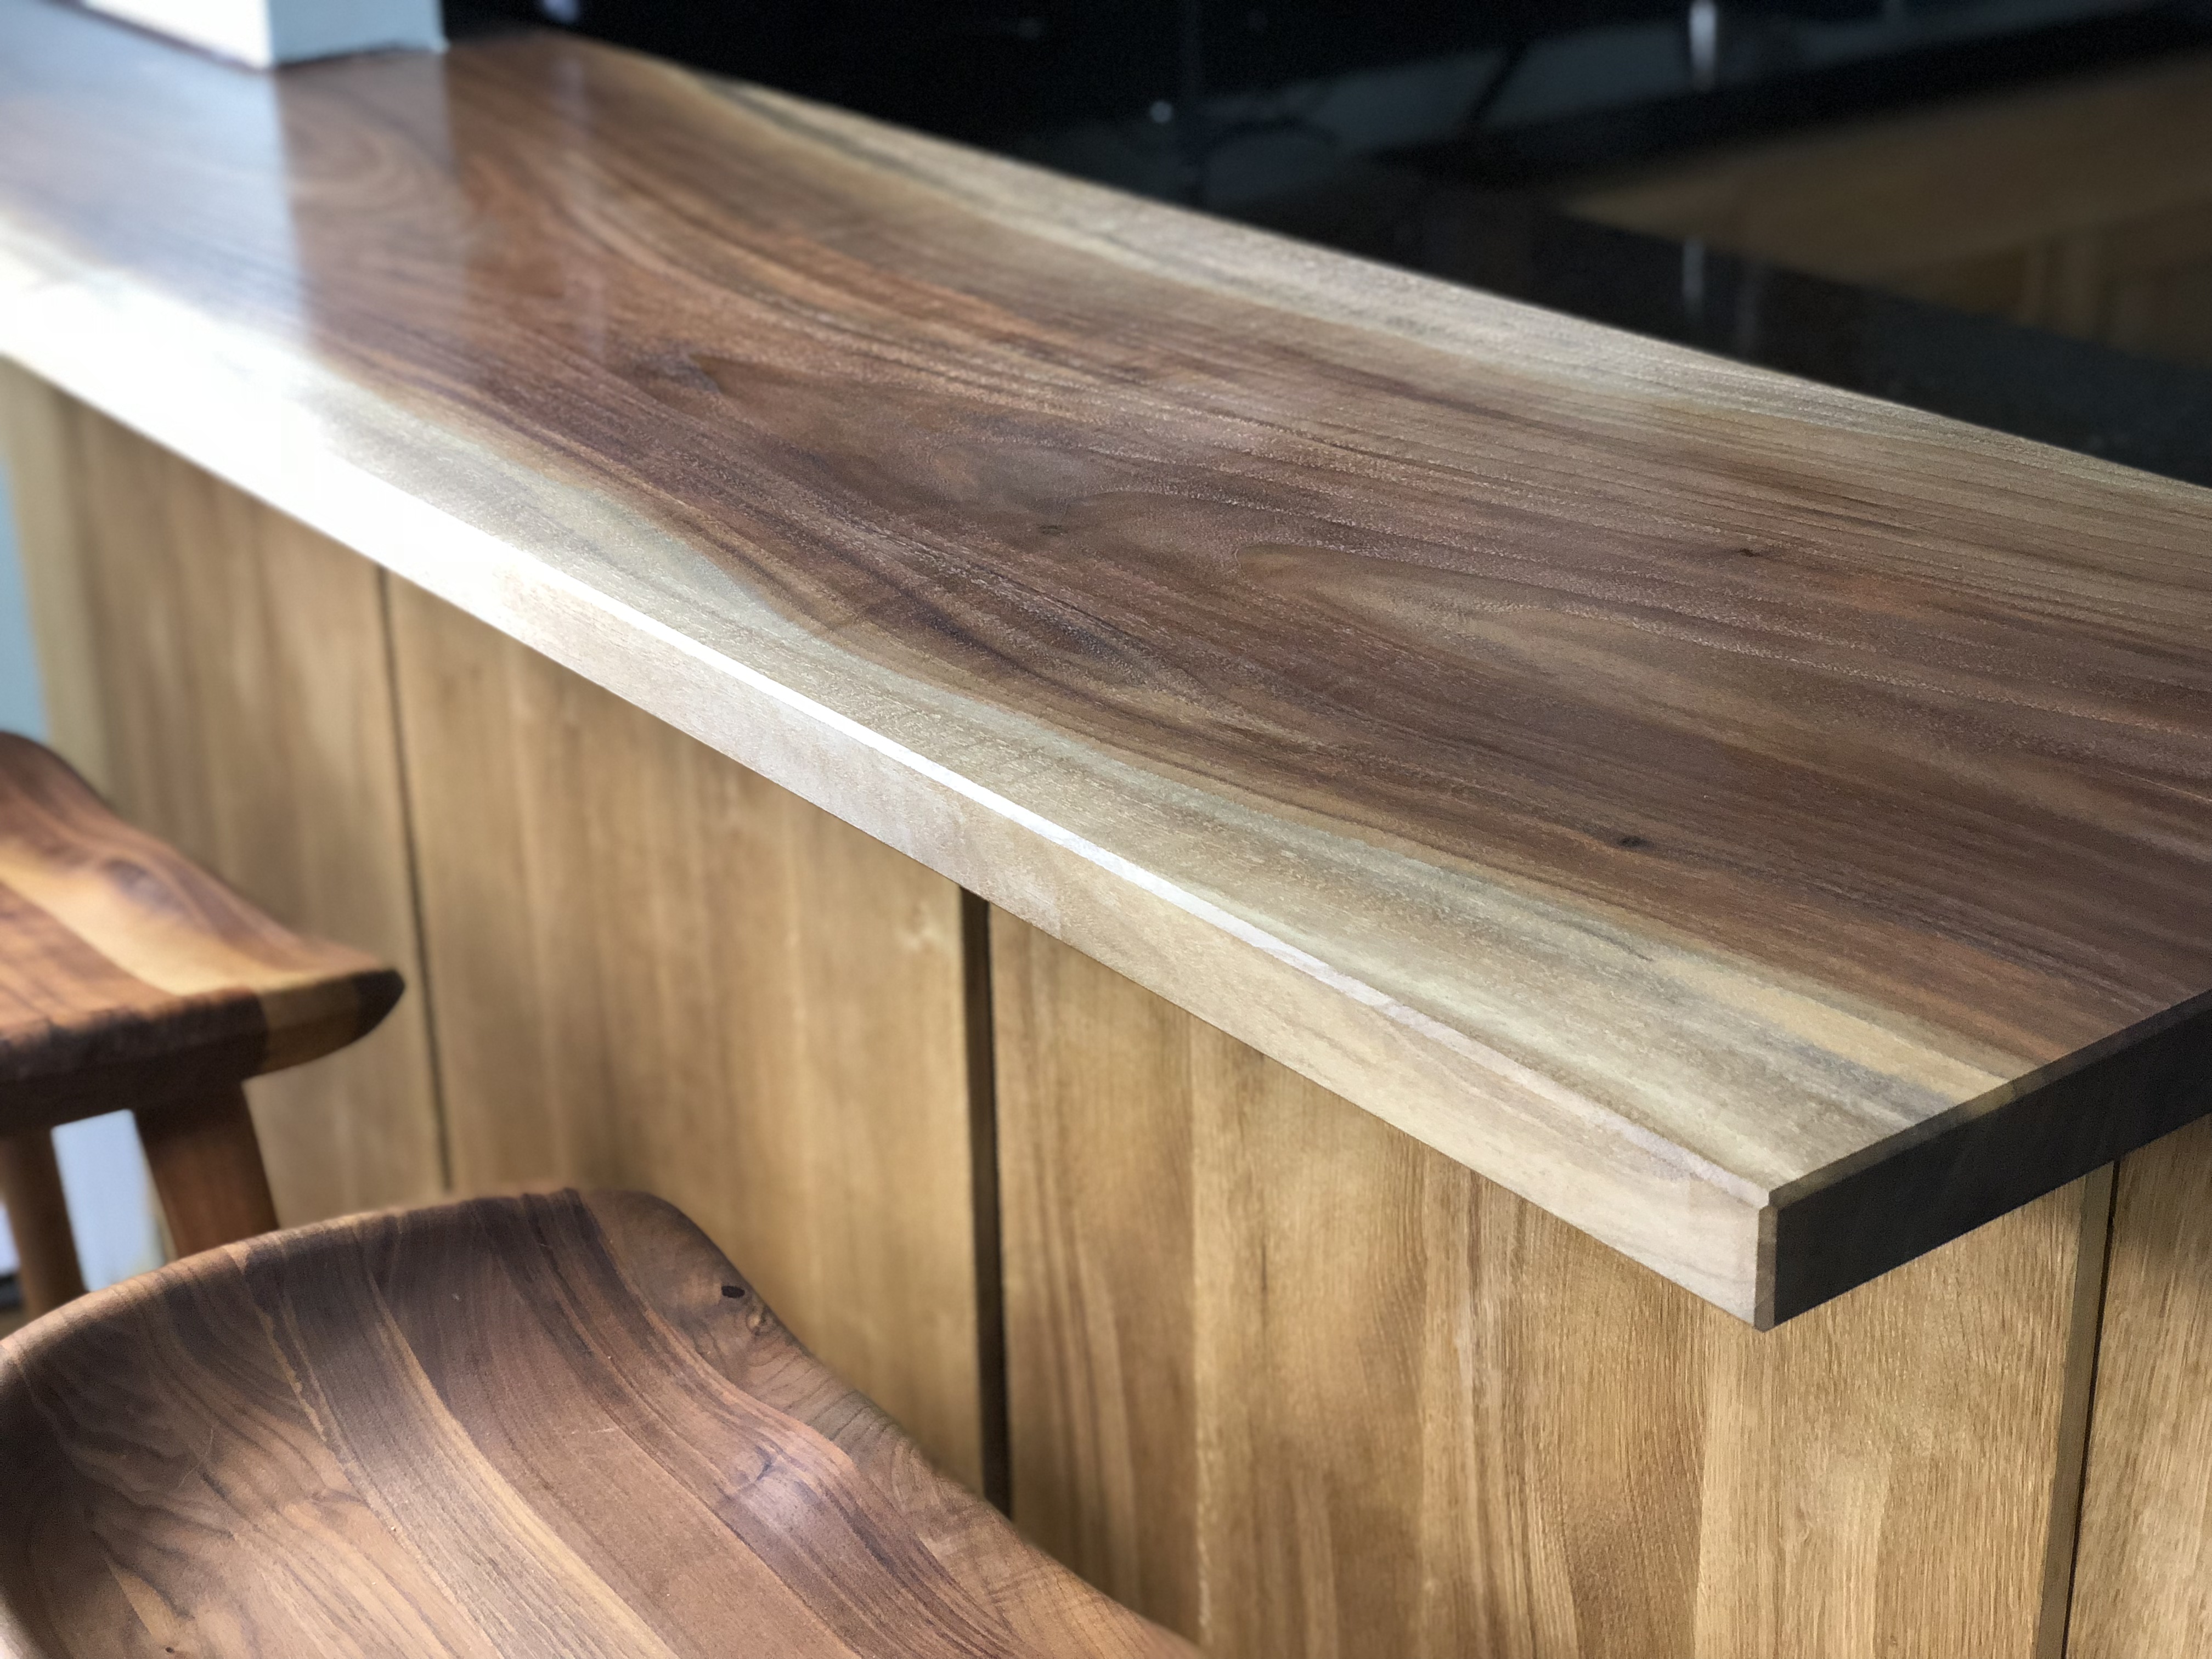
The remainder of the work is well on its way as the homeowner has taken down the wall between the kitchen and dining room allowing me to work out the bar top which is finished and bar facade which is near to completion. I will detail progress on those shortly.
I hope that you are enjoying following along with this build and I look forward to your comments.
Such meticulous work, Nice and clean…Well Done!
Thanks Joe!
Will there be doors in front of the lower drawers in the last picture?
Hi Brandon, There will be doors covering those drawers in the last photo.
Very nice, I like Japanese style decor. A kitchen like that would set someone back a minimum $50,000 in Australia.
Thanks Salko! Most important as well the clients are enjoying this now that they can move everything into these drawers. I’m happy with the way it is turning out, can’t wait to post up the finished project. We have a big holiday, thanksgiving, coming up so ideally it will be most of the way completed by then.
I’m glad your enjoying and earning a living from the craft. It’s becoming a rarity.
Thanks Salko! It is not easy, as you know, but working very hard at it!
As always, Brian, your work is stunning. The consistent quality of the details (holy dovetails!!!) is amazing. I’m sure the homeowner is very pleased.
Thanks Phil! Good to hear from you! Haha, I felt like I was chopping dovetails forever during that phase of the work. They love it, always makes one feel good to put a smile on someone’s face.
Brian,
As always your work is beautiful. The “tick tock” of the build is helpful, it’s nice to see the build but even better to see how it got there.
ken
Ken, Thank you! I agree I think those details can be very important in providing context for the build,
Beautiful craftsmanship!! I can’t wait to see the finished product. Out out of this world talent!!
Thank you! Very much appreciated!
I love it- so precise, your skill is exemplary. The extra details you take would never be replicated by a regular kitchen installer/ carpenter. Not enough people know about you-
Hi Nick, Good to hear from you! Thank you, I very much appreciate your comments.